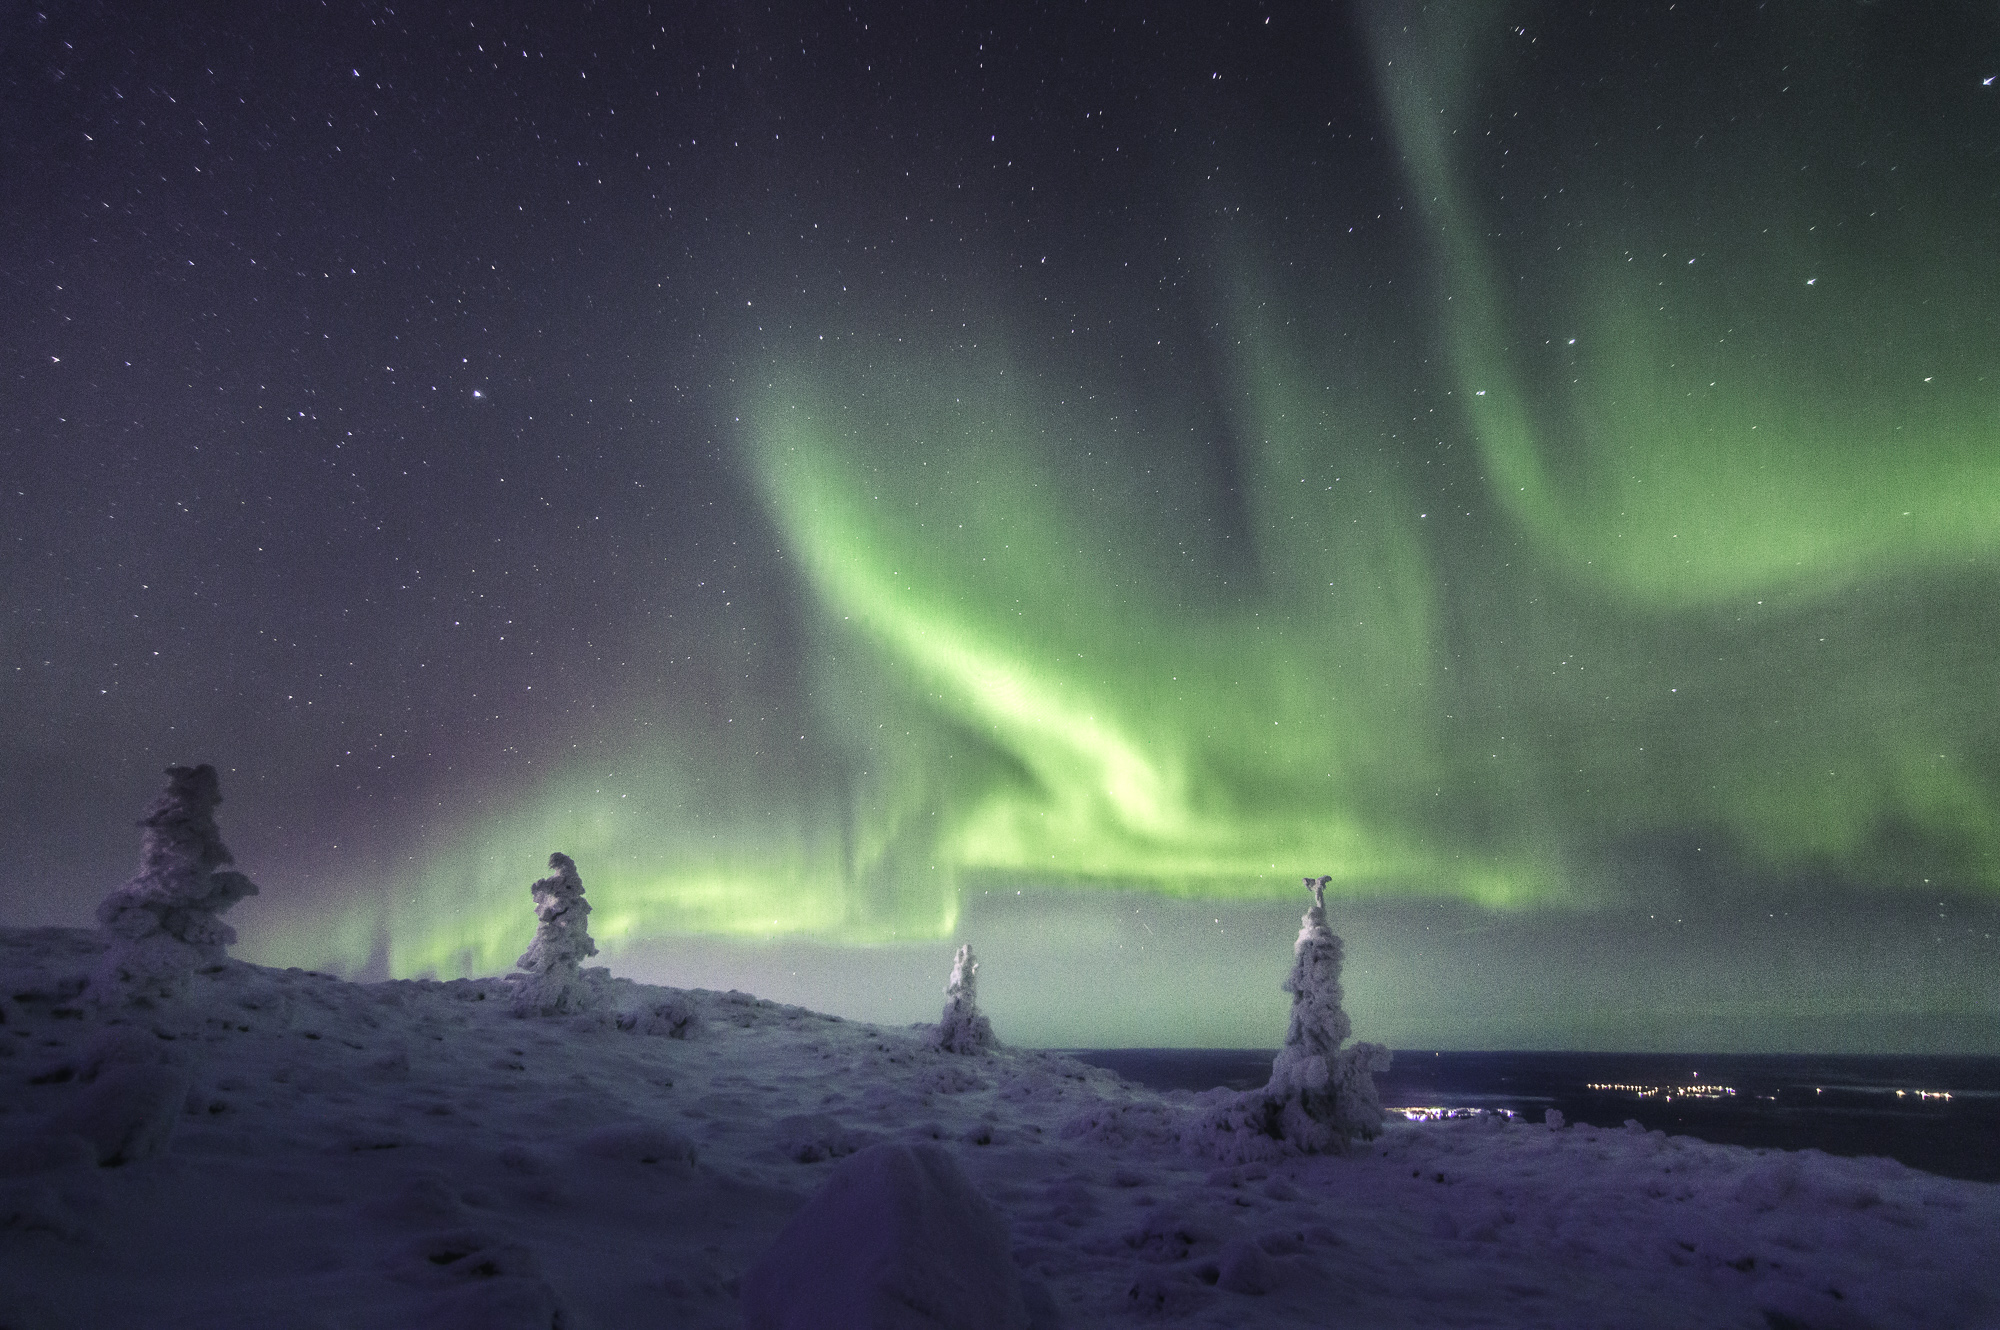
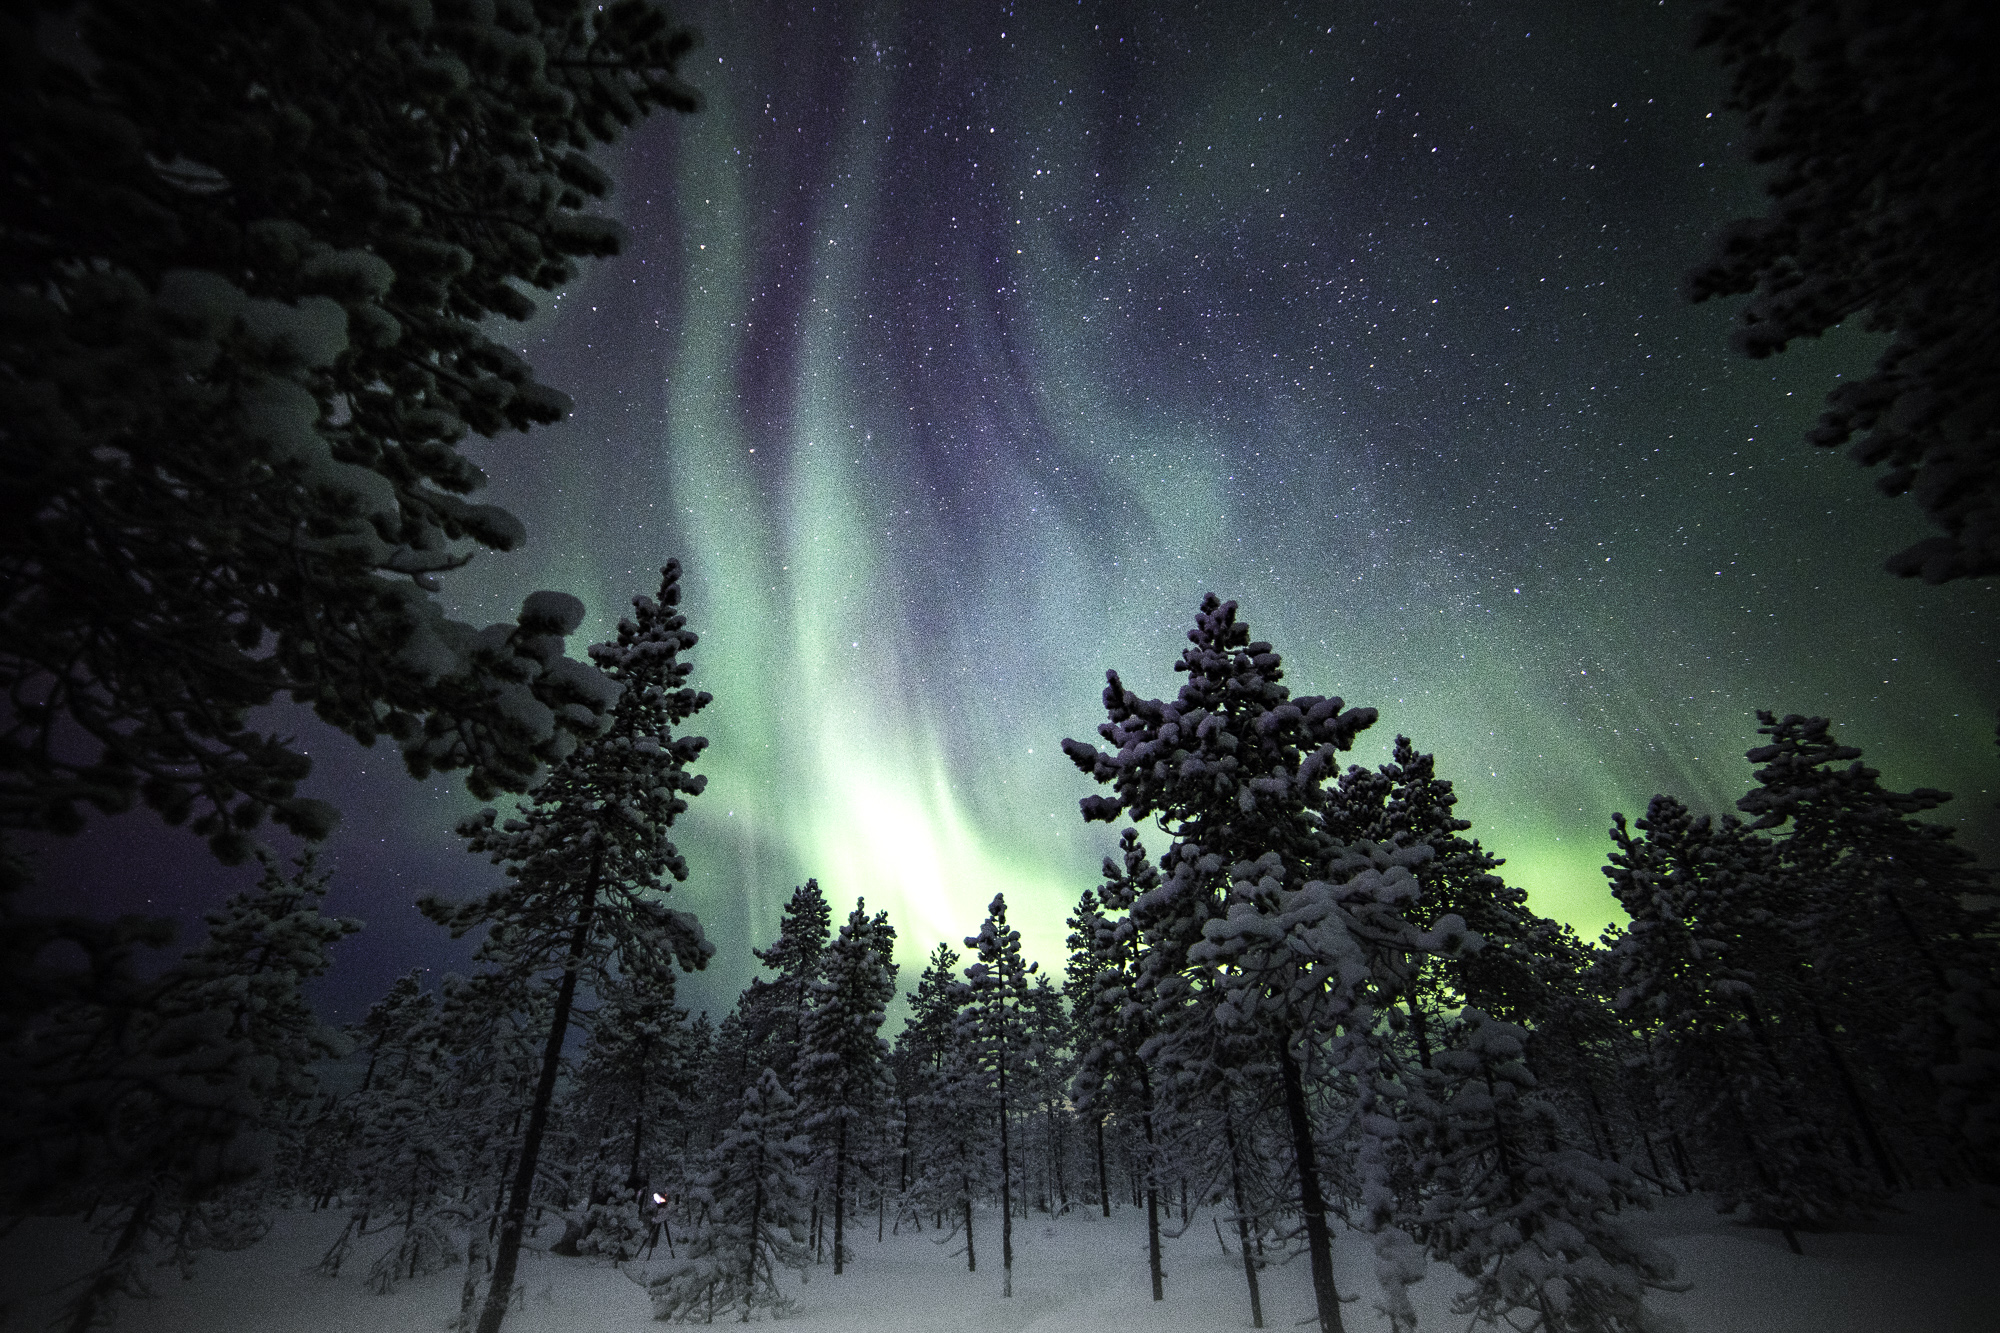
HOW TO PHOTOGRAPH NORTHERN LIGHTS
The starry sky, below freezing temperatures, and the Northern Light show provide unforgettable experiences. This is why we at Bliss Adventure decided to create this handy quick guide & check-list which is handed out after your workshop to help you in your future ‘hunting’ of the auroras.
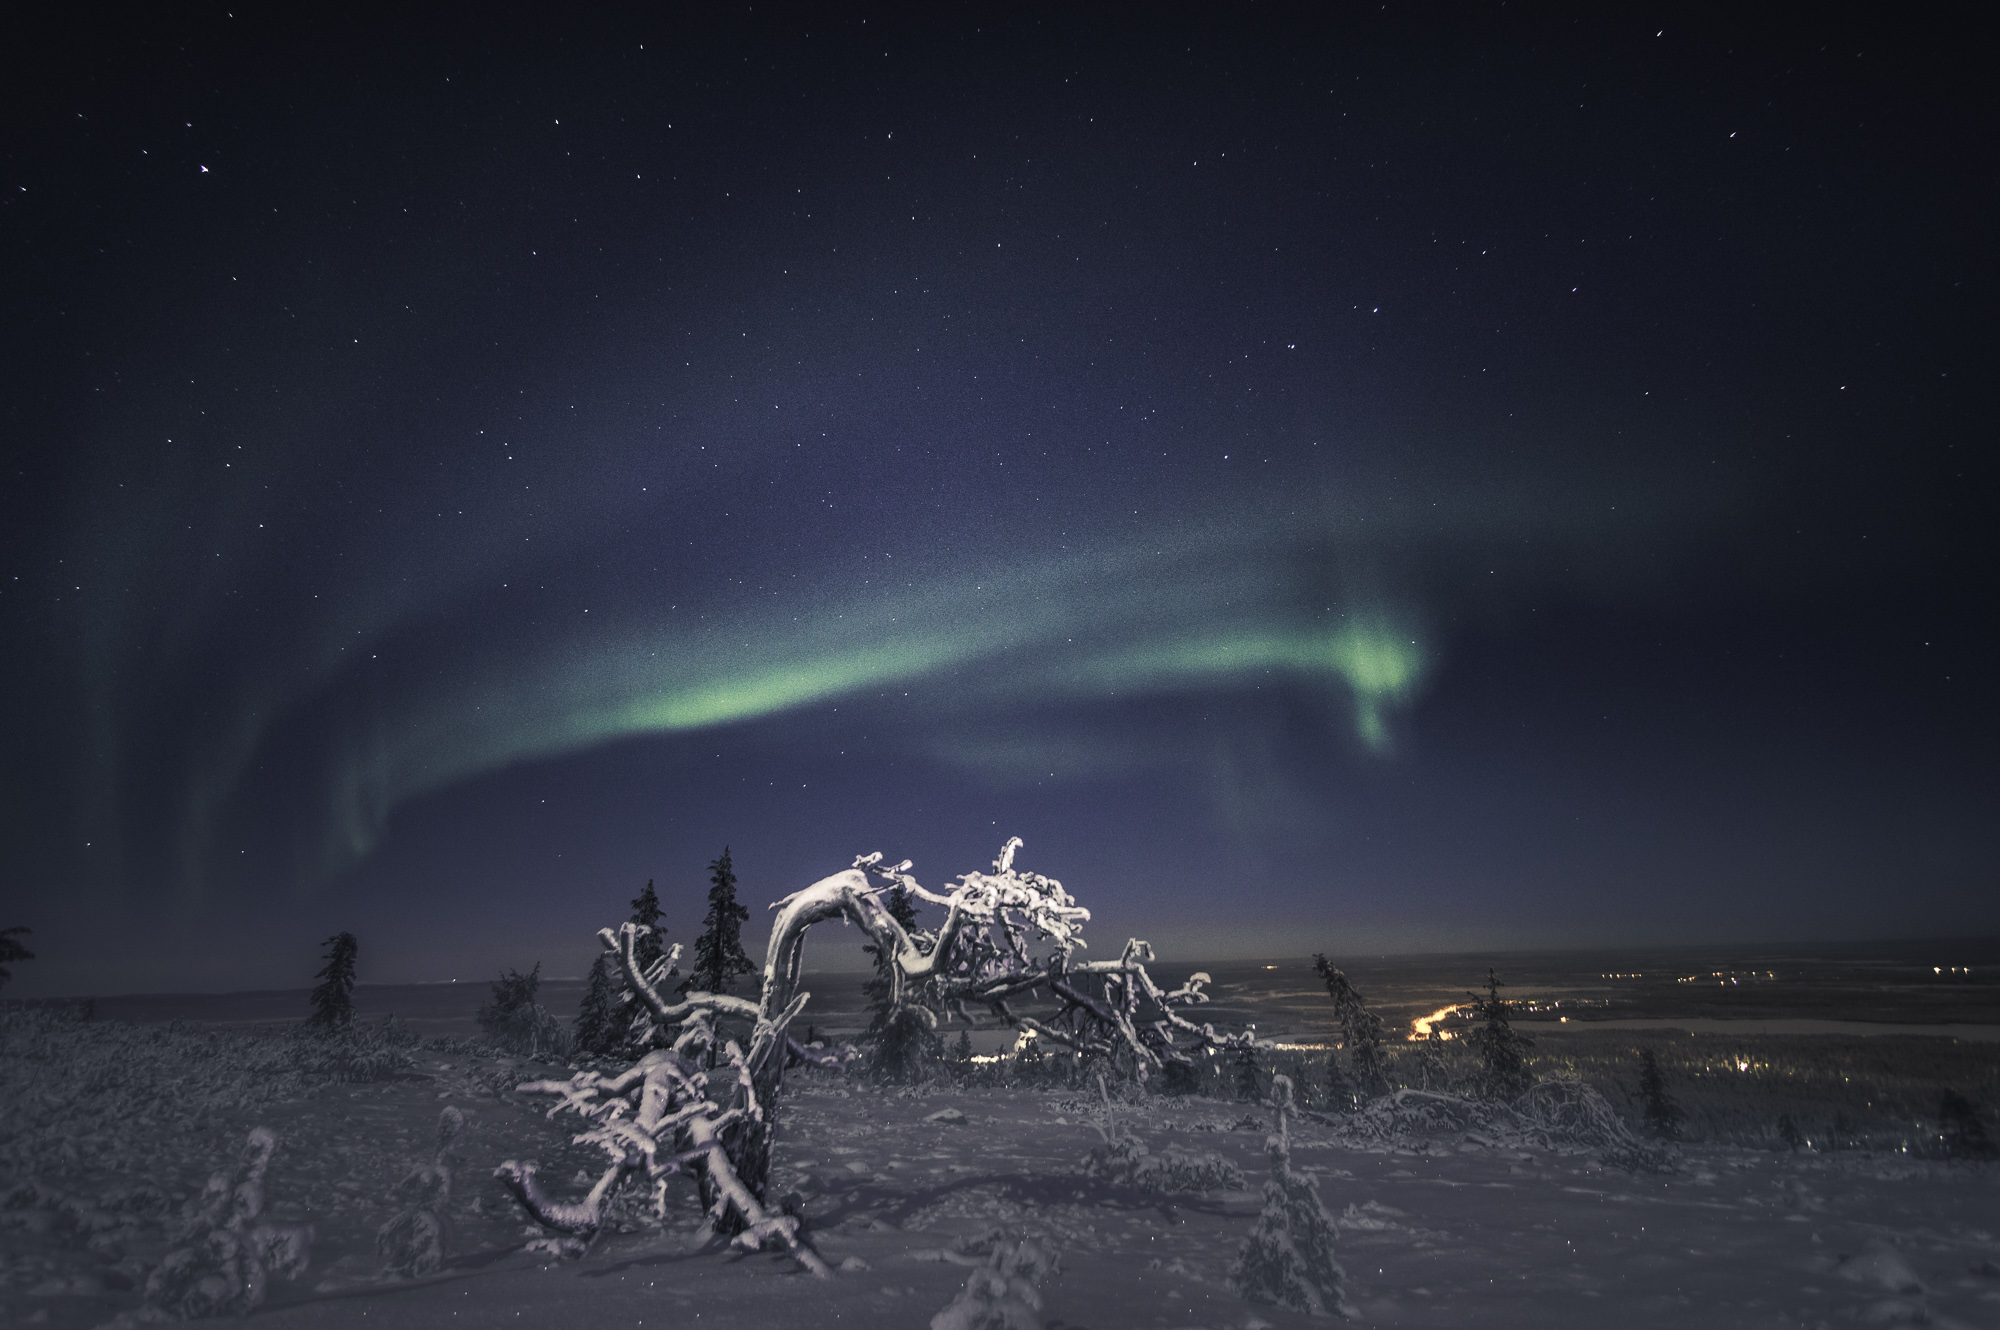
Why do the Nothern Lights appear?
The Northern Lights appear when particles from the sun hit the atmosphere of the Earth. These particles react with a variety of chemicals on Earth creating these multi-coloured wonders of Earth.
WHEN IS IT POSSIBLE TO SEE THE NORTHERN LIGHTS?
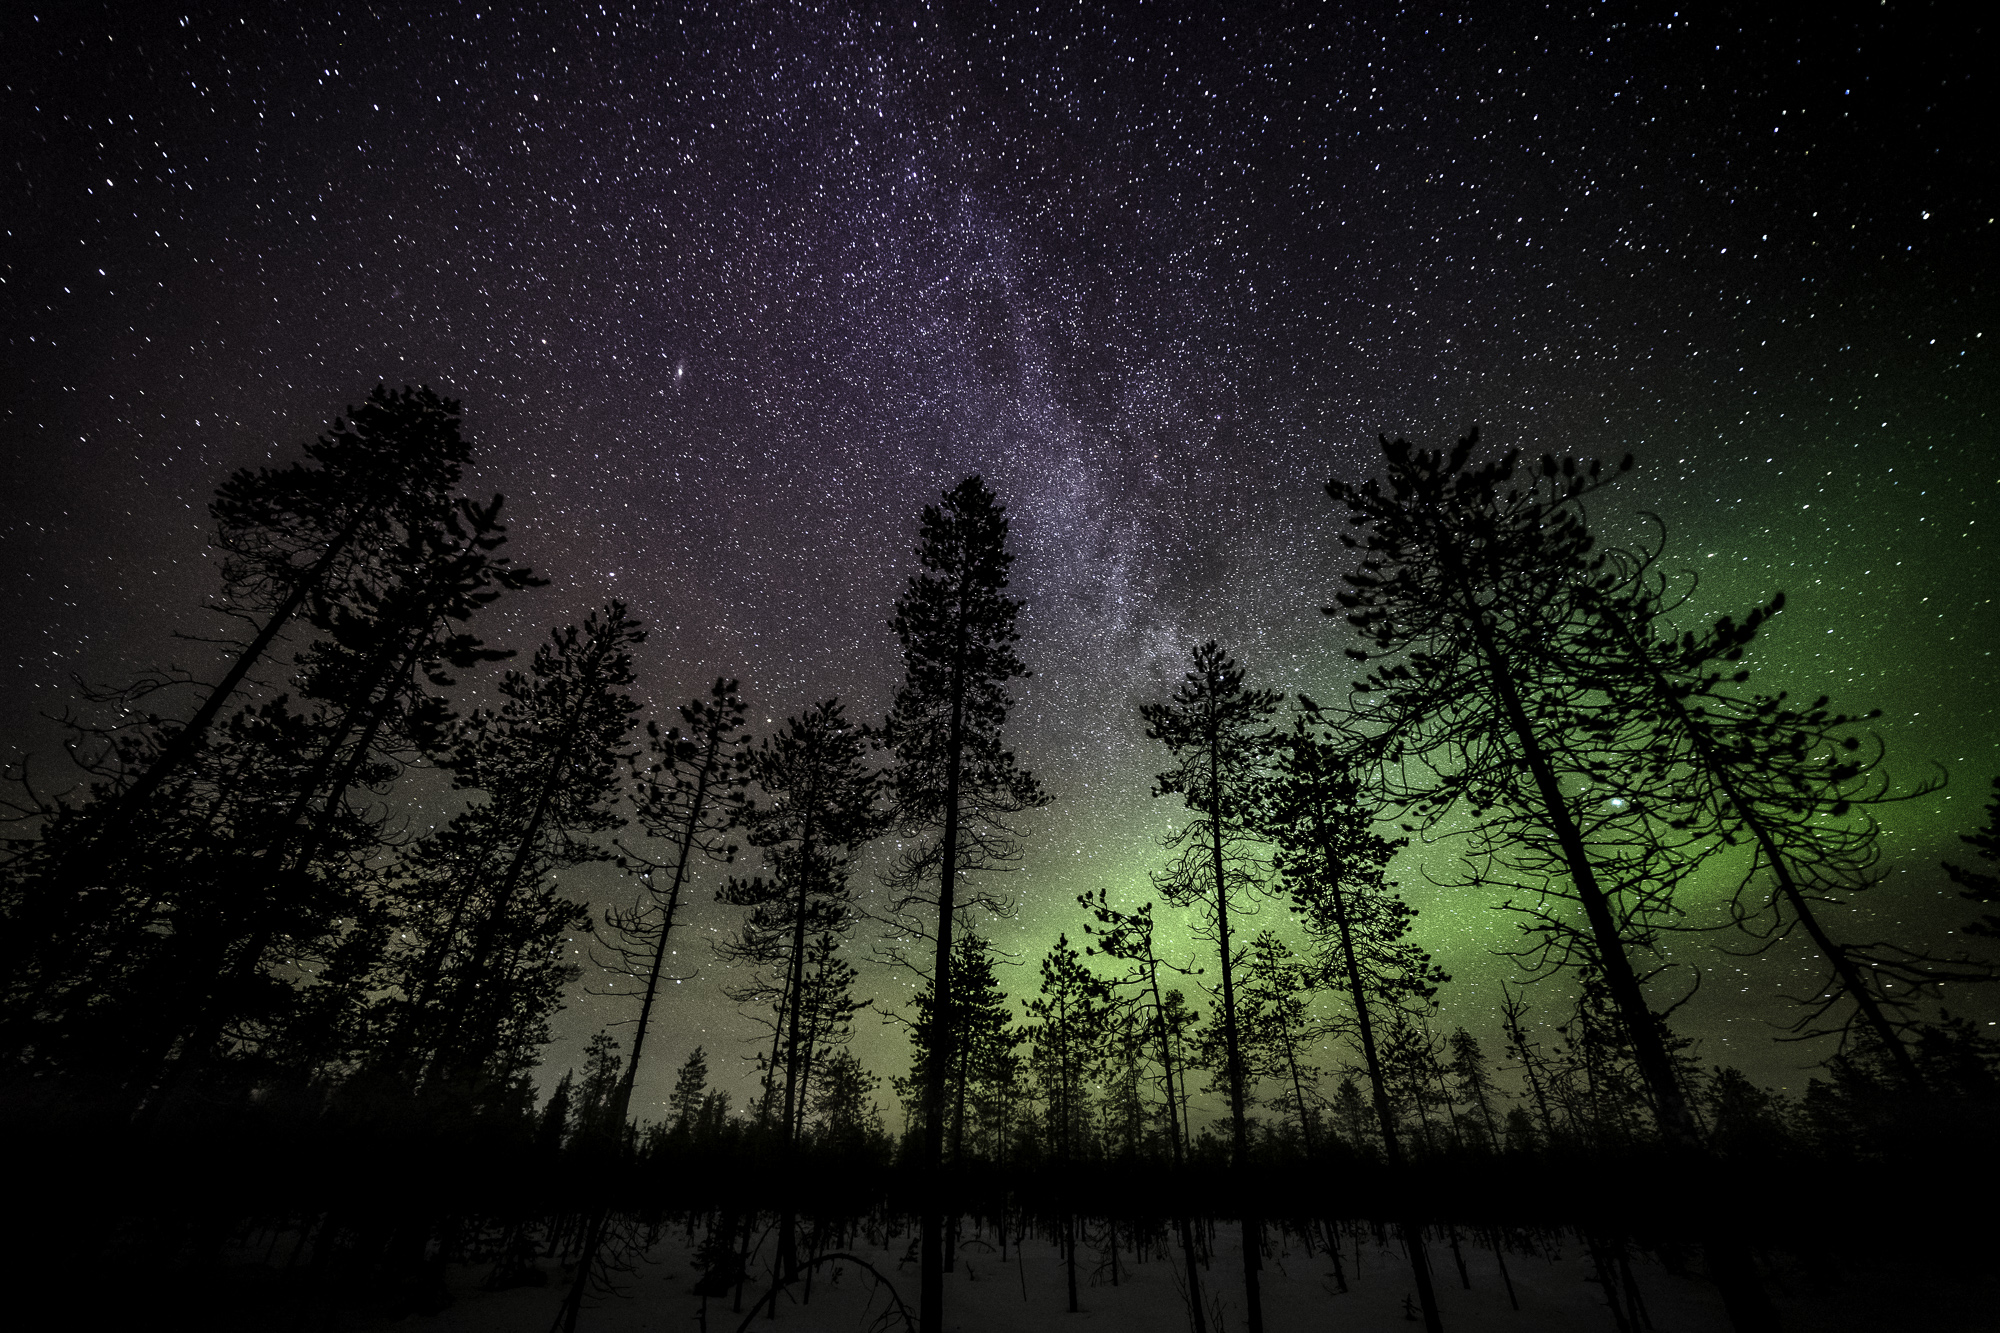
Northern Lights appear all year round, but in summertime it's impossible to see them due to constant daylight in northern regions. Above arctic circle it's dark enough to see them from early September to late April -if only the sky is clear.
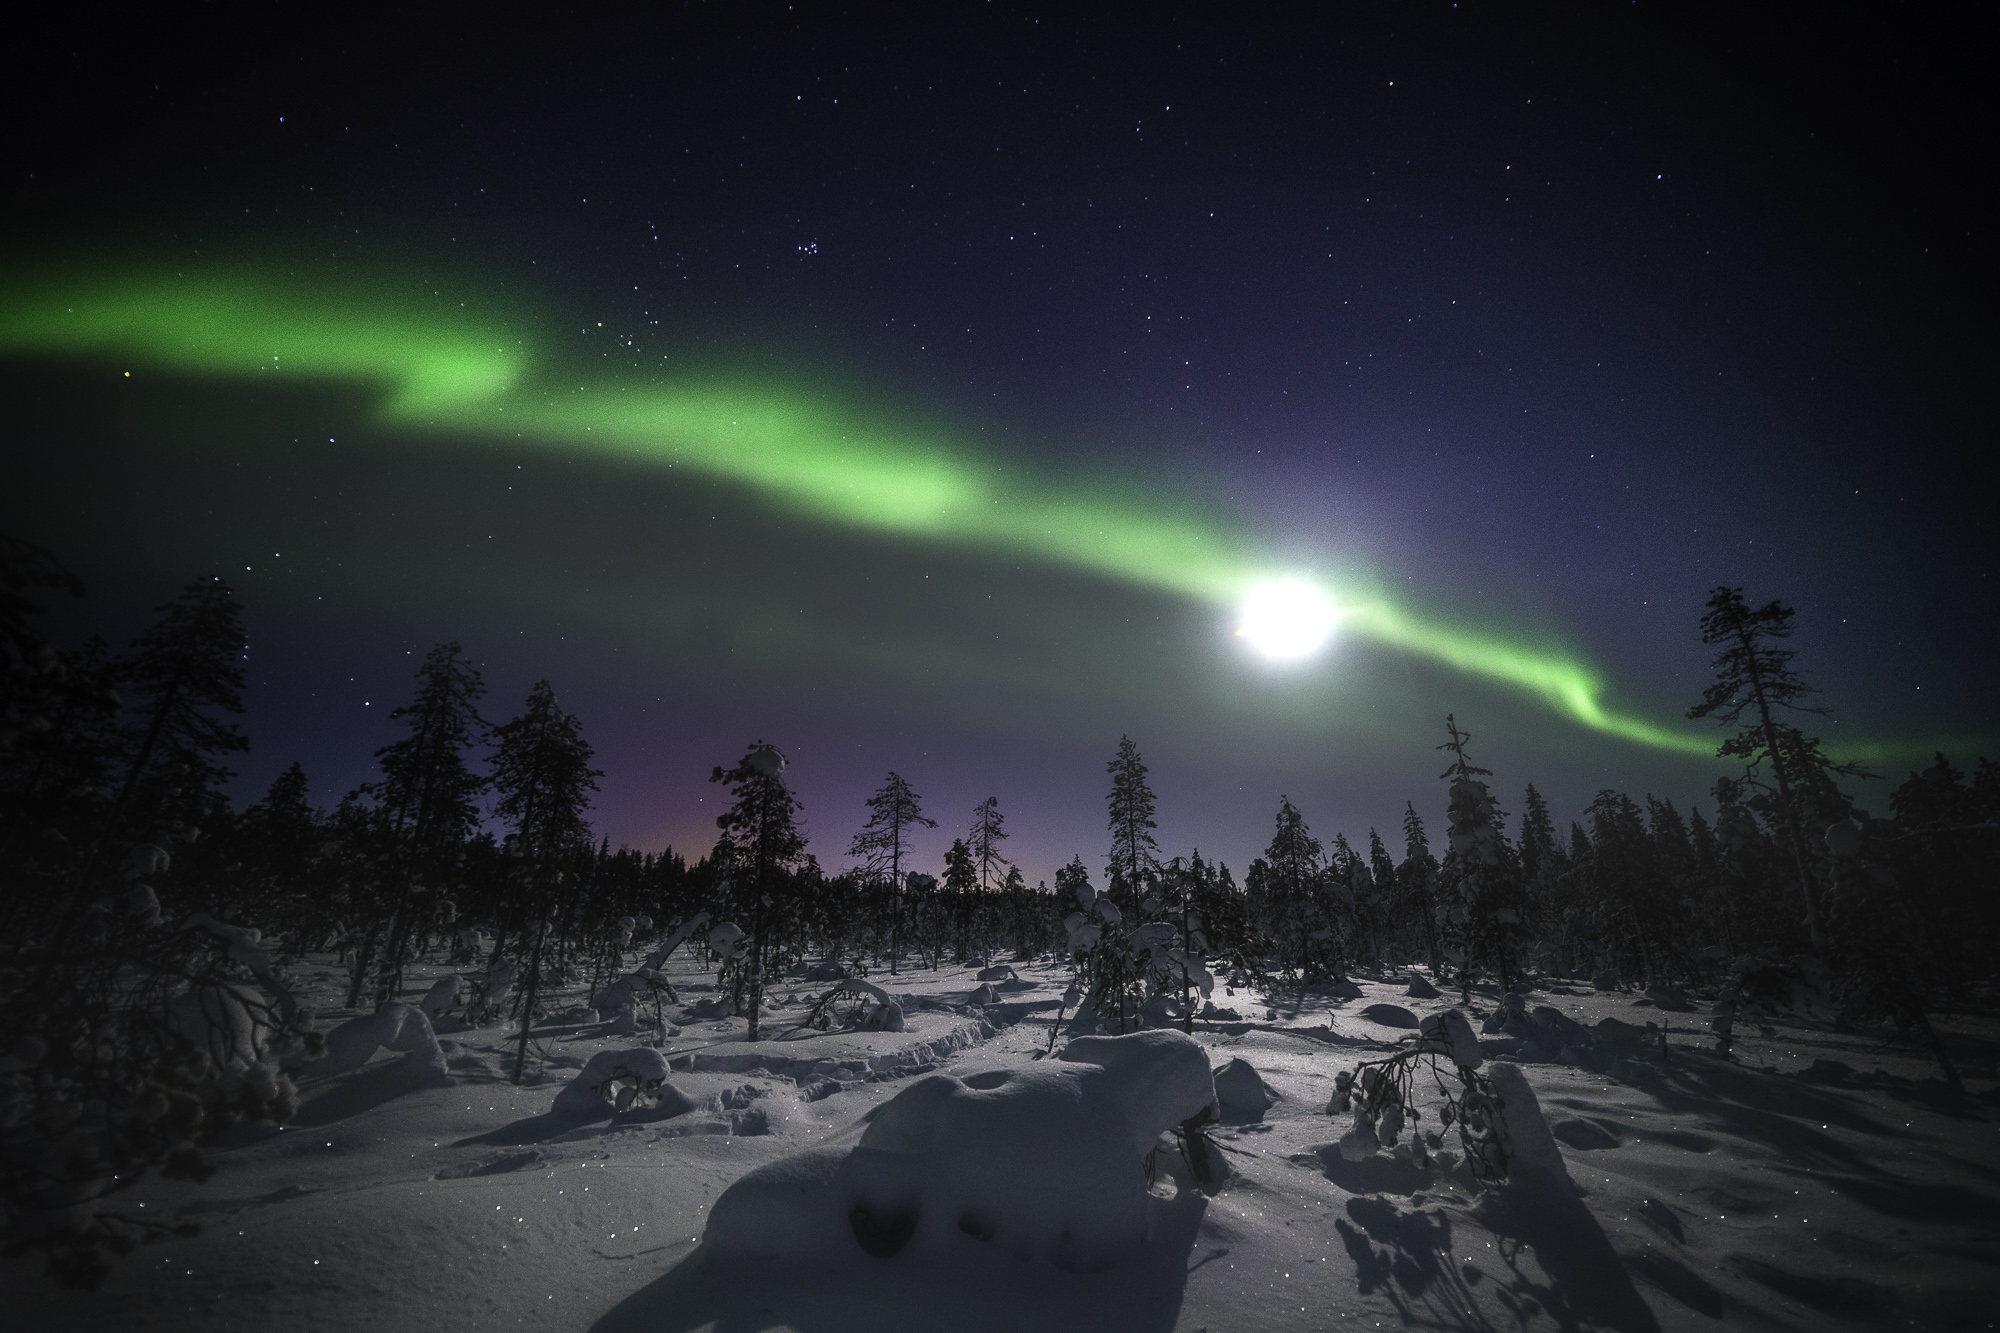
The best place to spot them?
Venture out into the darkness! Try to find an area where there is minimal or no light pollution. Look towards the North and up at the sky!
What do you need?
- A camera which has Manual mode, which allows you to control the aperture, ISO and shutter speed.
- Preferably a wide angle lens. The wider the better (e.g 14mm or 16mm) with a low f-stop number (e.g 1.4, 1.8 or 2.8).
- If you can’t use separate lenses, always use the widest setting that your camera allows.
- A sturdy tripod with a proper ballhead mount. Bear in mind, cheaper ballheads tend to freeze up in below 0 Celcius temperatures, so it’s a good idea to spend a little extra money for a better quality one, preferably one you can handle with the gloves on!
Helpfull websites! Aurora warning services
- To find the darkest possible spot: http://darksitefinder.com/
- To find out sunset time: http://suncalc.net/
- To find out the the possibility and activity: http://www.aurora-service.eu/
practical tips
- Charge your batteries and take spare ones with you (keep the batteries close to your body to keep them warm)
- Clean the lens and check that your cam- era works (e.g take a photo)
- Empty your memory card and take spare ones with you
- Make sure your tripod works properly
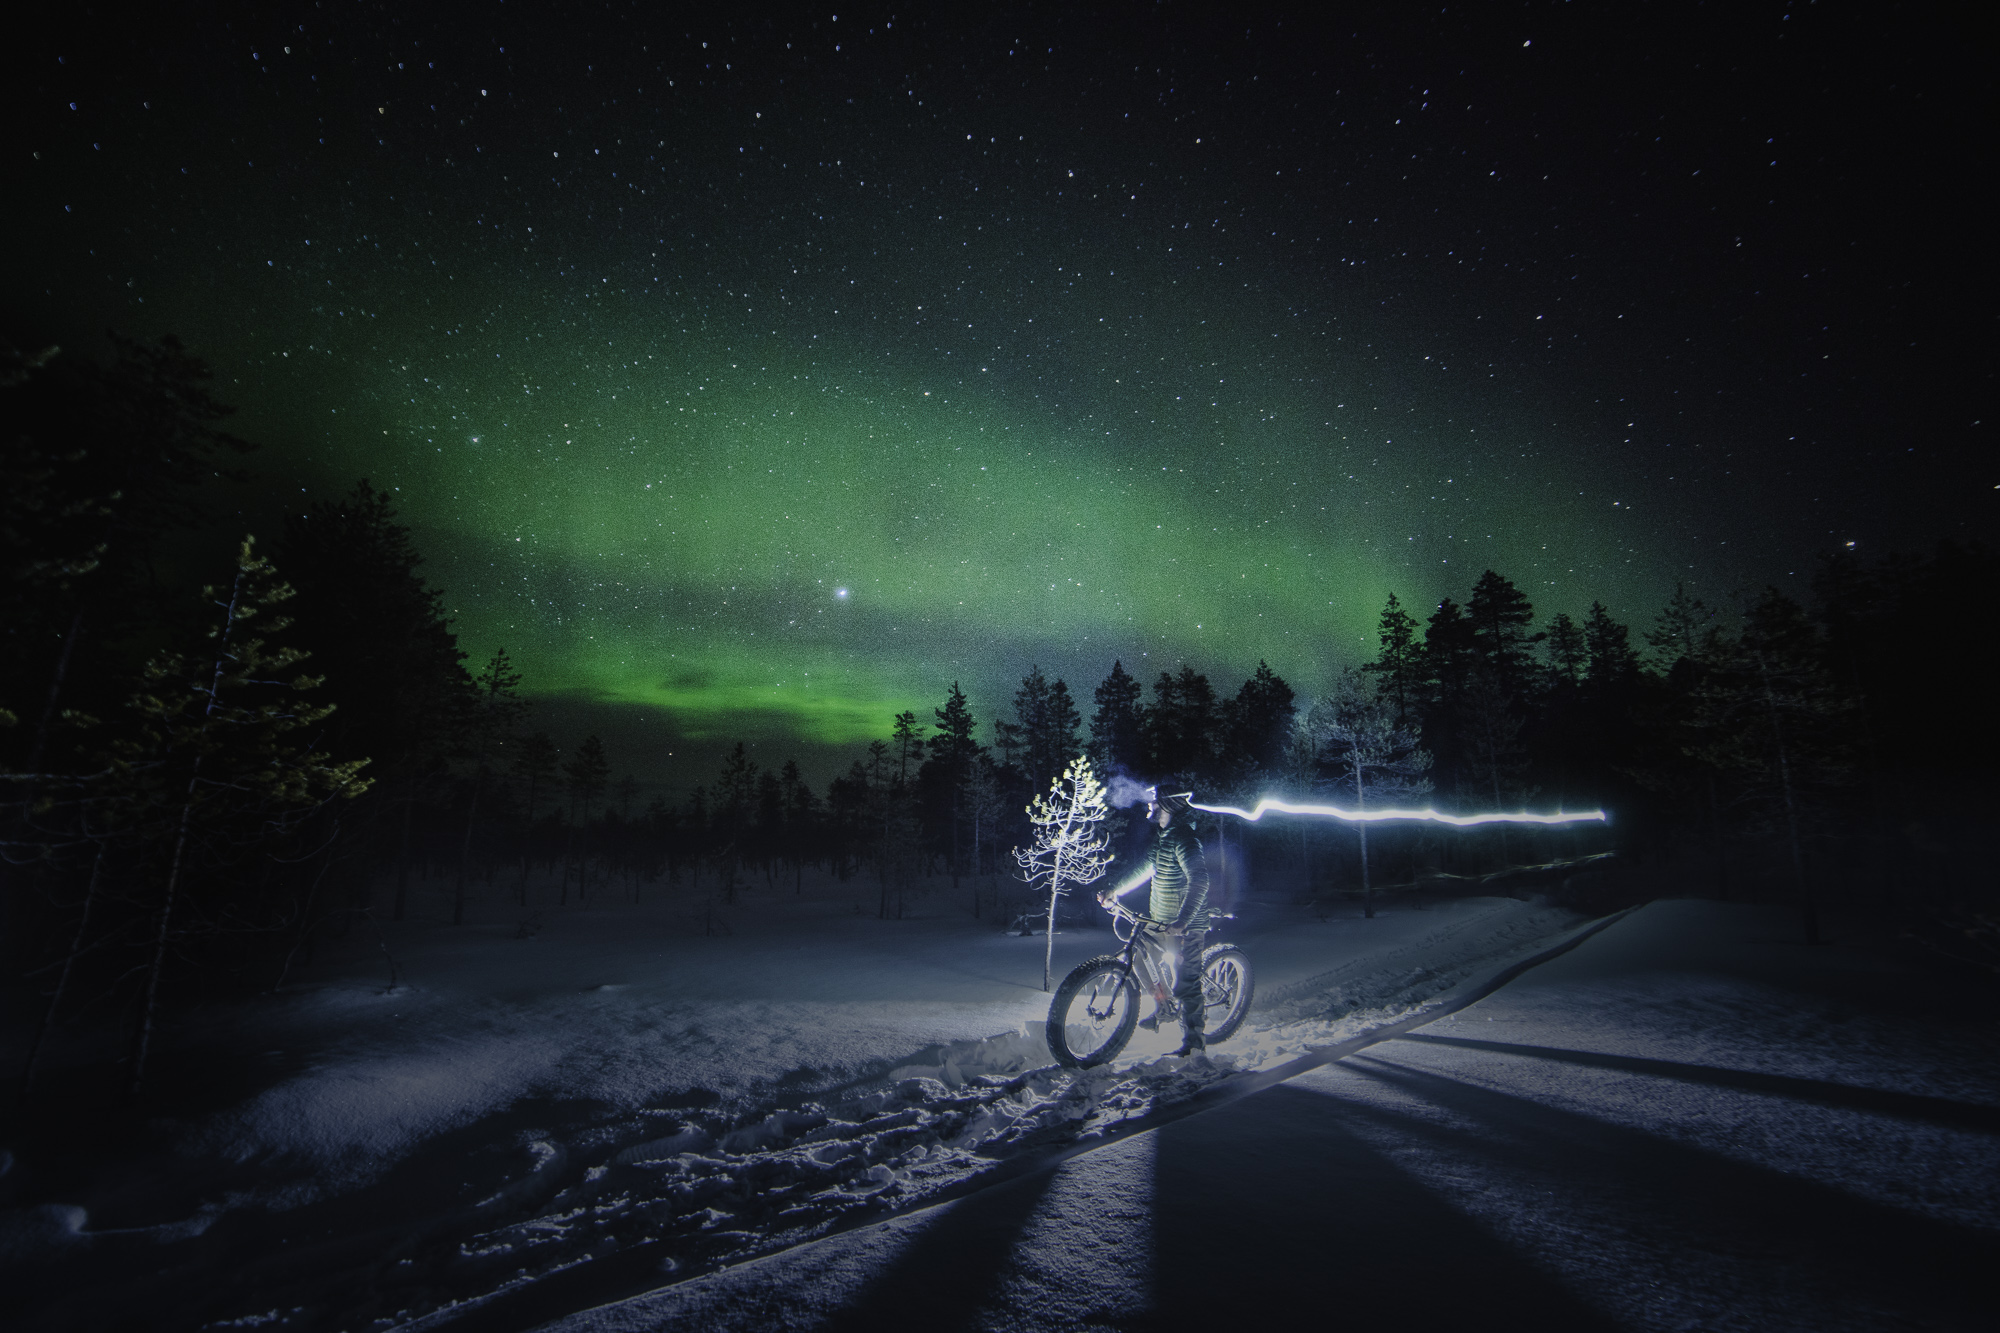
- Take warm clothes, food and hot juice with you – it might be a long night.
- Set your camera to Manual mode and then enter the follow- ing settings:
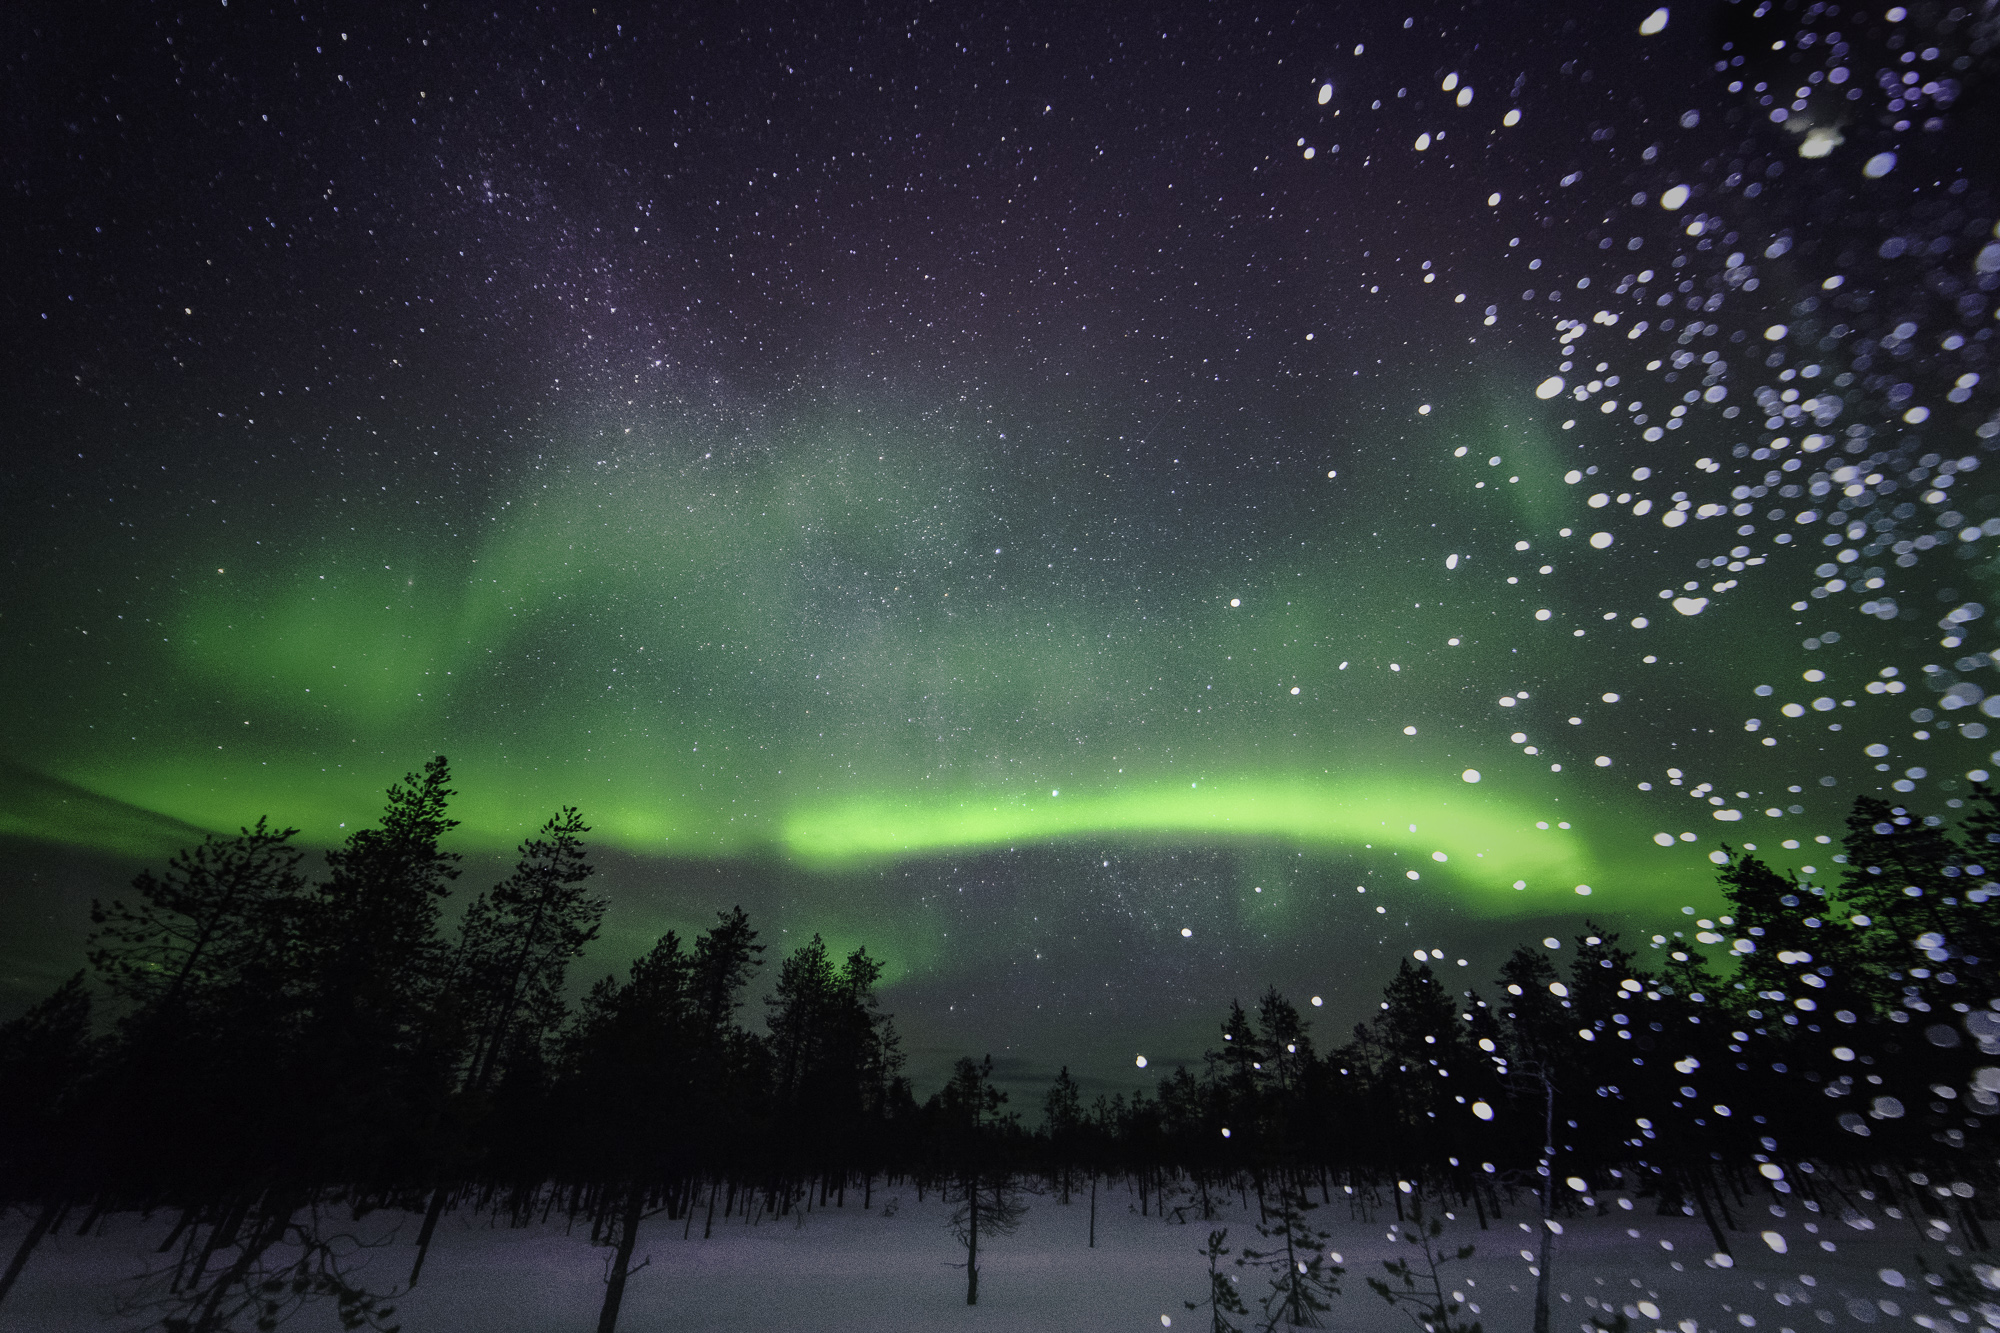
- Exposure – 5 to 15 seconds depending on the brightness and speed of the Northern Lights
- F-stop – from 1.4 to 2.8 or the lowest possible
- ISO – 400 to 3200 depending on the brightness of the Northern Lights and your exposure time
- Set your lens to the widest setting such as 14mm or 16mm (e.g 16-35mm, choose 16mm)
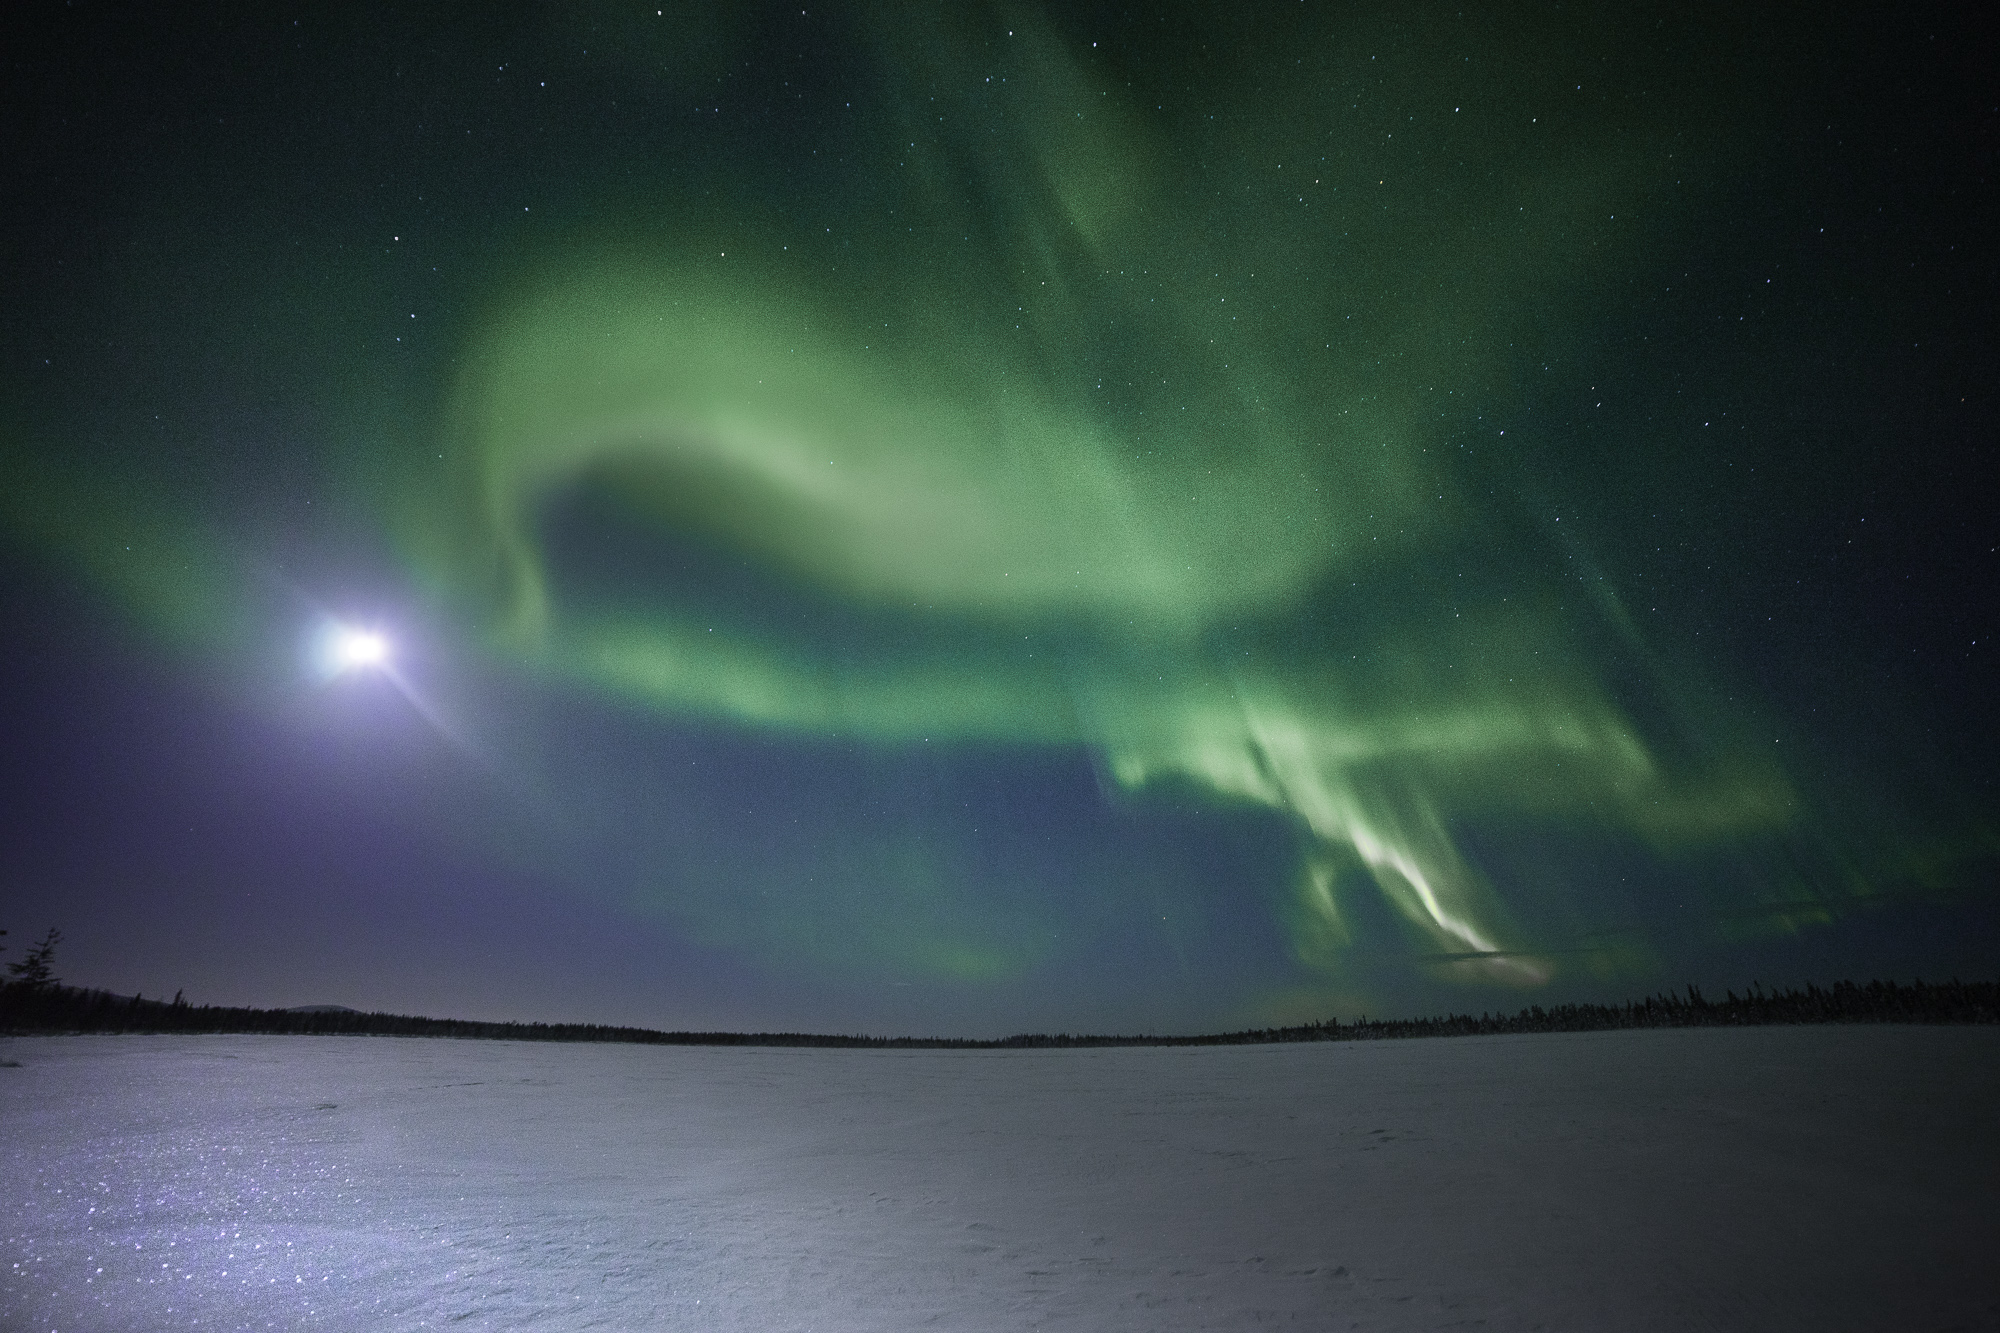
- Find the brightest star or use the moon to check your focus or set the lens to infnity and take a photo to see if it’s in focus. Correct by making small adjustments
- Enjoy the Northern Lights and don’t panic when they show up!